Weapon images
Overview
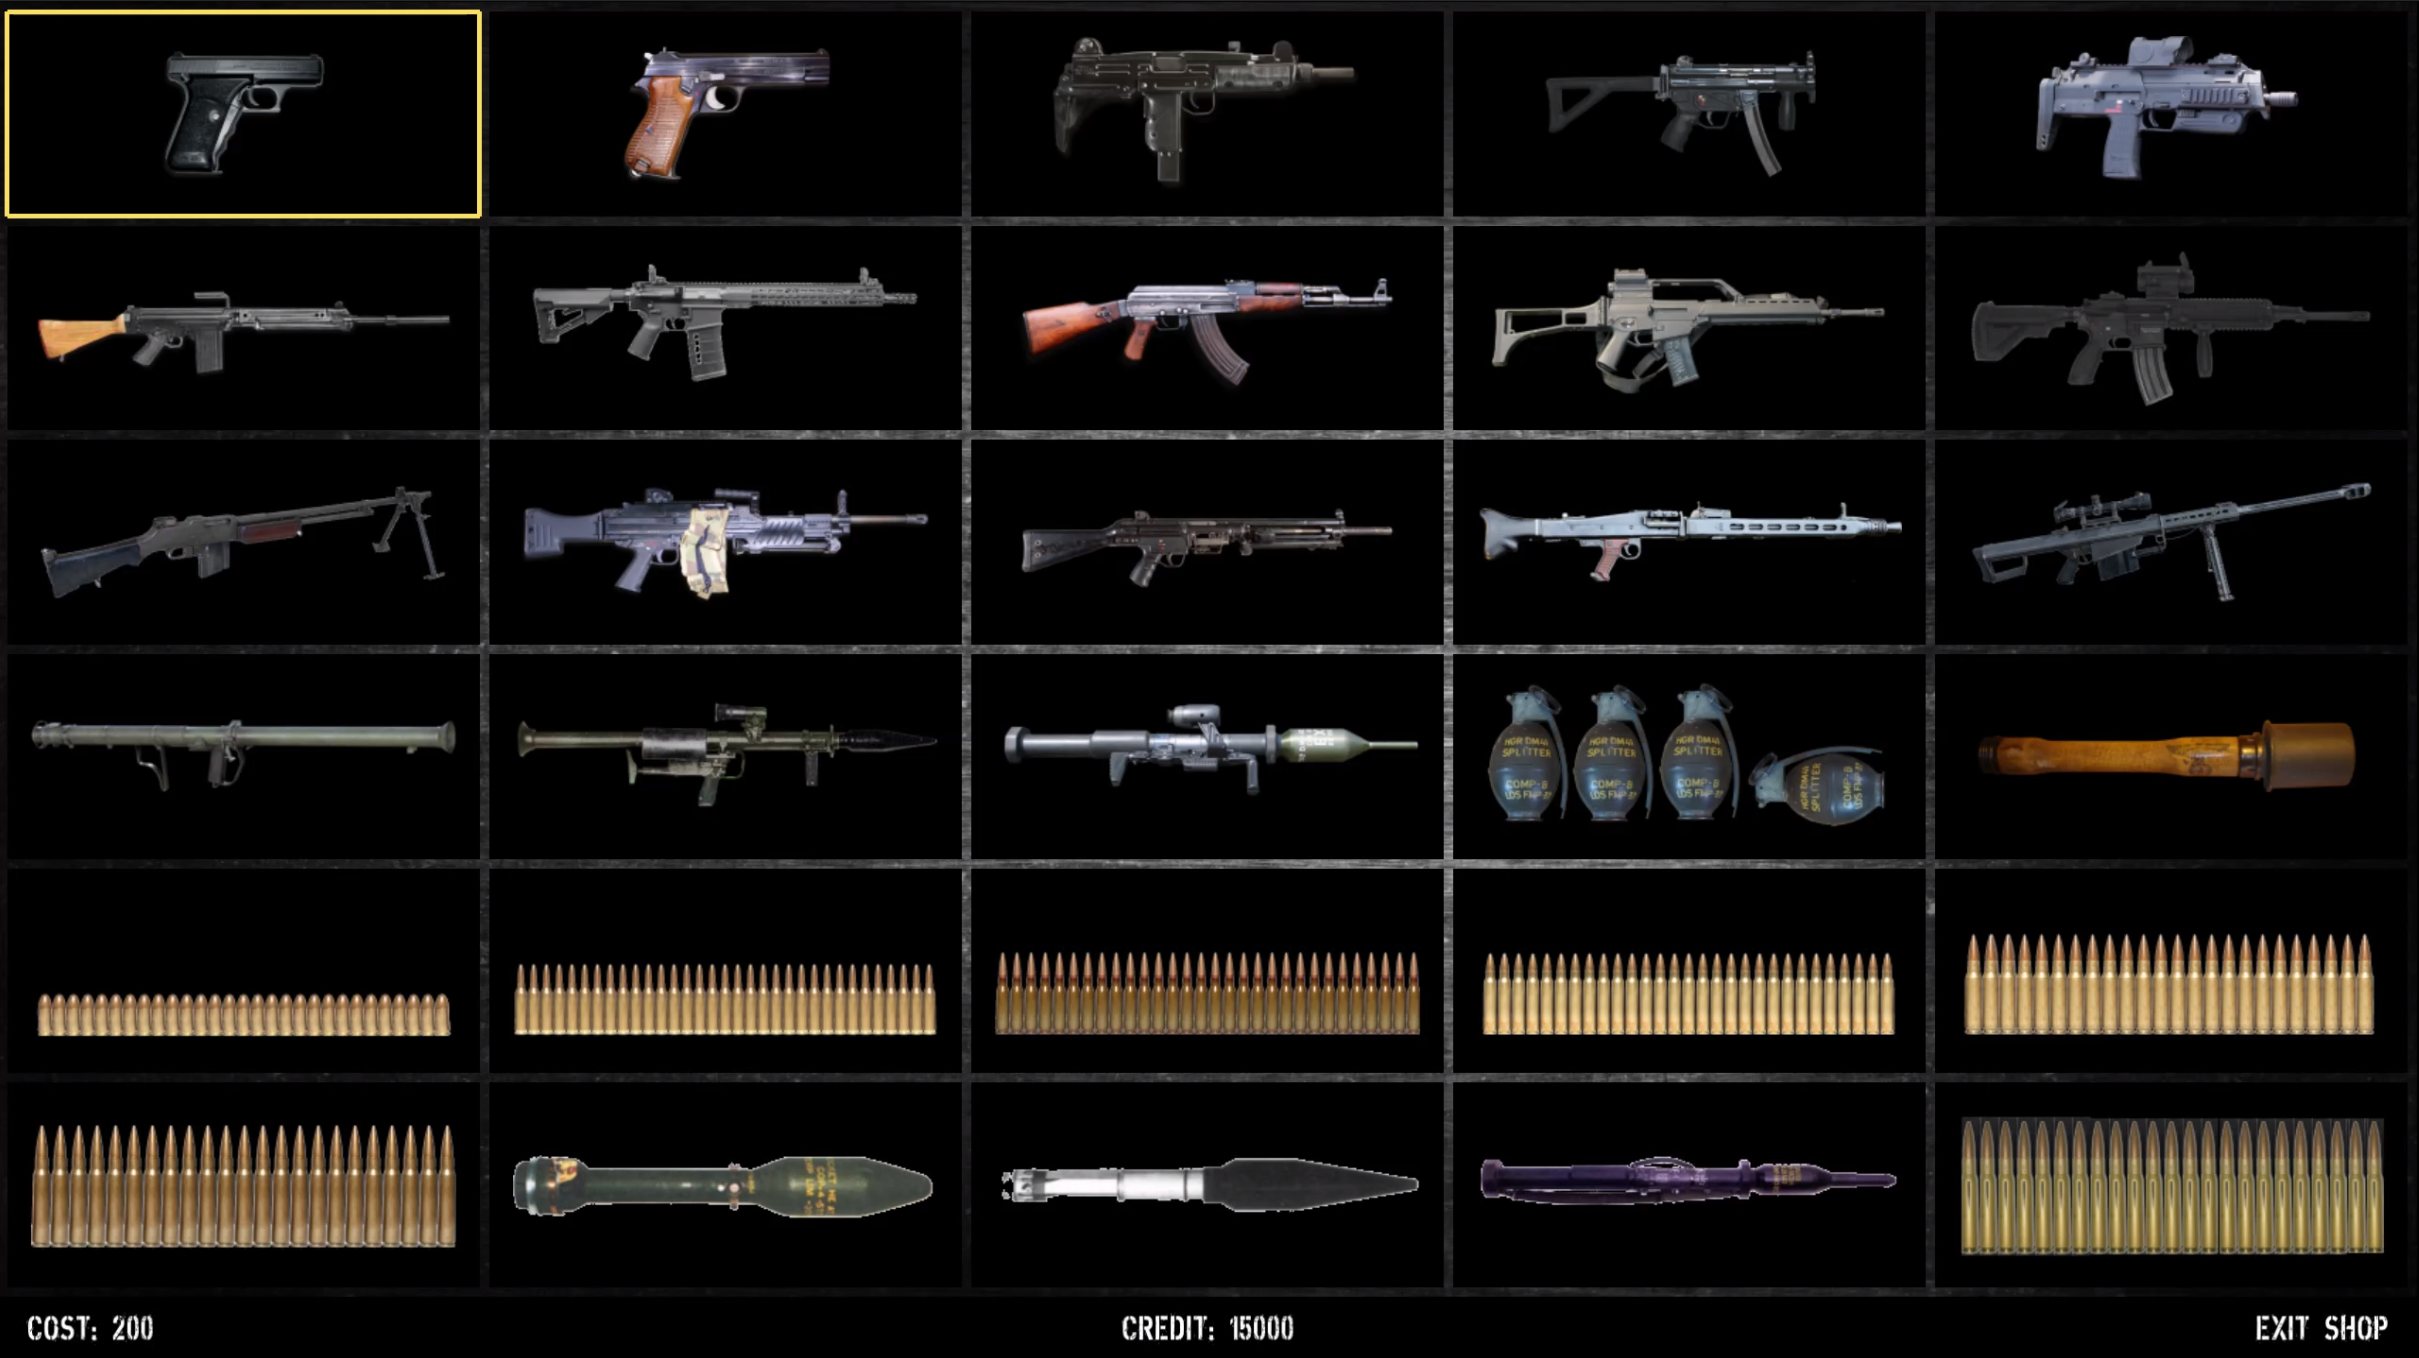
This article describes the workflow used to create the images for weapons. These images are used to display the weapons in the store and the sidebars of the game screen.
Disclaimer
First of all: I am not a graphics professional, but quite a novice in this field. This workflow describes the procedure that I have worked out for myself. There are certainly methods with which better results or the same result can be achieved more efficiently. I am therefore not documenting my approach here to show how best to implement this task. My aim is to be able to understand later how I proceeded.
Workflow
Creating the shots
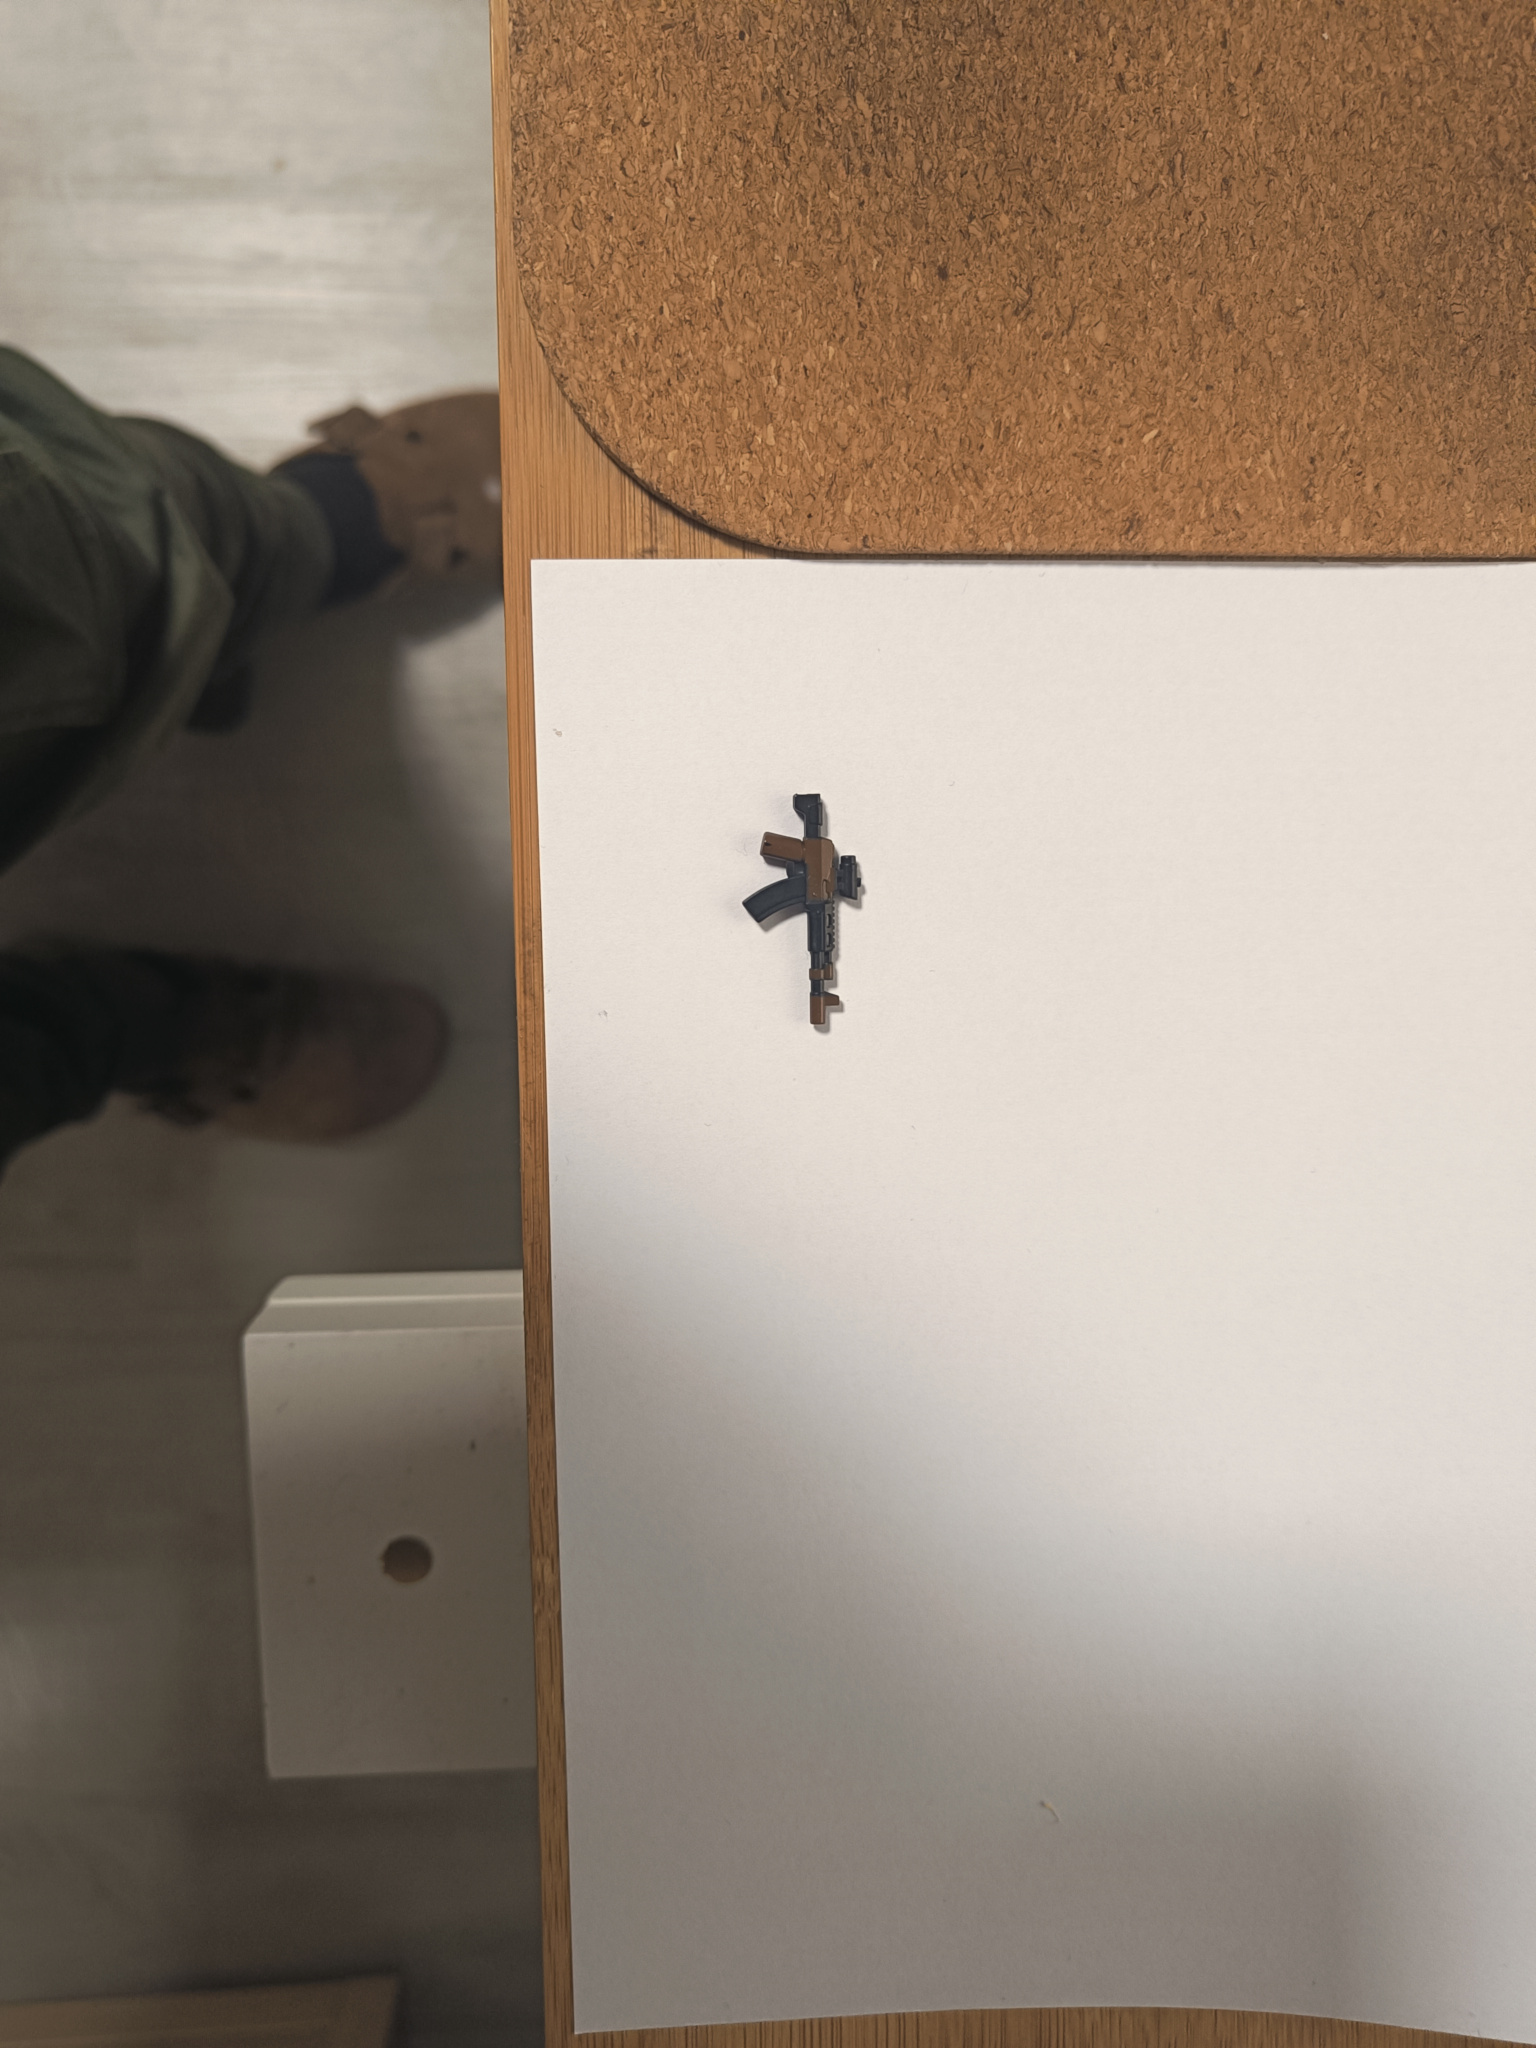
I usually take the photos at night with indirect lighting to get the same lighting conditions for all the photos and avoid too many reflections. I take the photos with the camera of a cell phone (OnePlus Nord2 with 50 megapixels).
Rough cut
I transfer the images from the phone to the computer for further processing. I create a folder for all subsequent steps and make a copy of the image for each step. As I don't overwrite any files, I can go back to a previous step at any time.
- First I open the images with Gimp. I flip and rotate the images so that the object has the desired orientation.
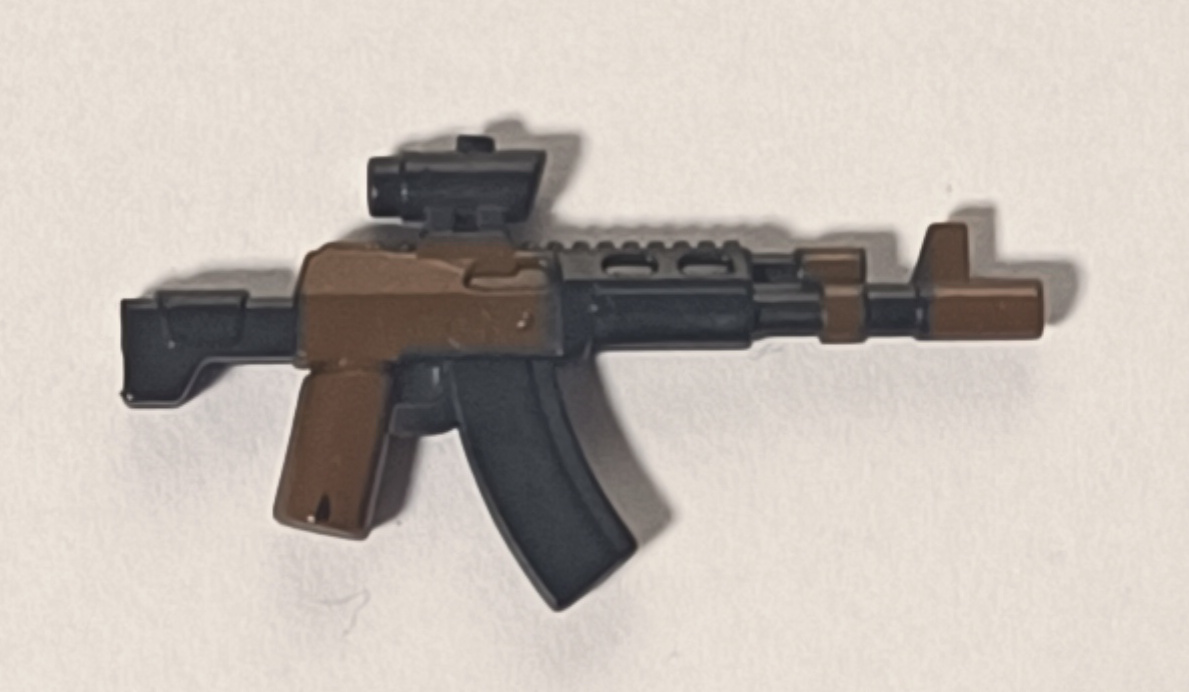
- Now I roughly crop the image to the desired section using the manual selection.
Remove the background
In the next step, I remove the background of the shot (replacing it with transparency). To do this, I use the rembg tool, which can use various AI models for this purpose. I process the image with several models in order to then select and post-process the best result.
rembg p -m u2net .\in .\out-u2net
rembg p -m isnet-general-use .\in .\out-isnet-general-use
rembg p -m birefnet-general .\in .\out-birefnet-general
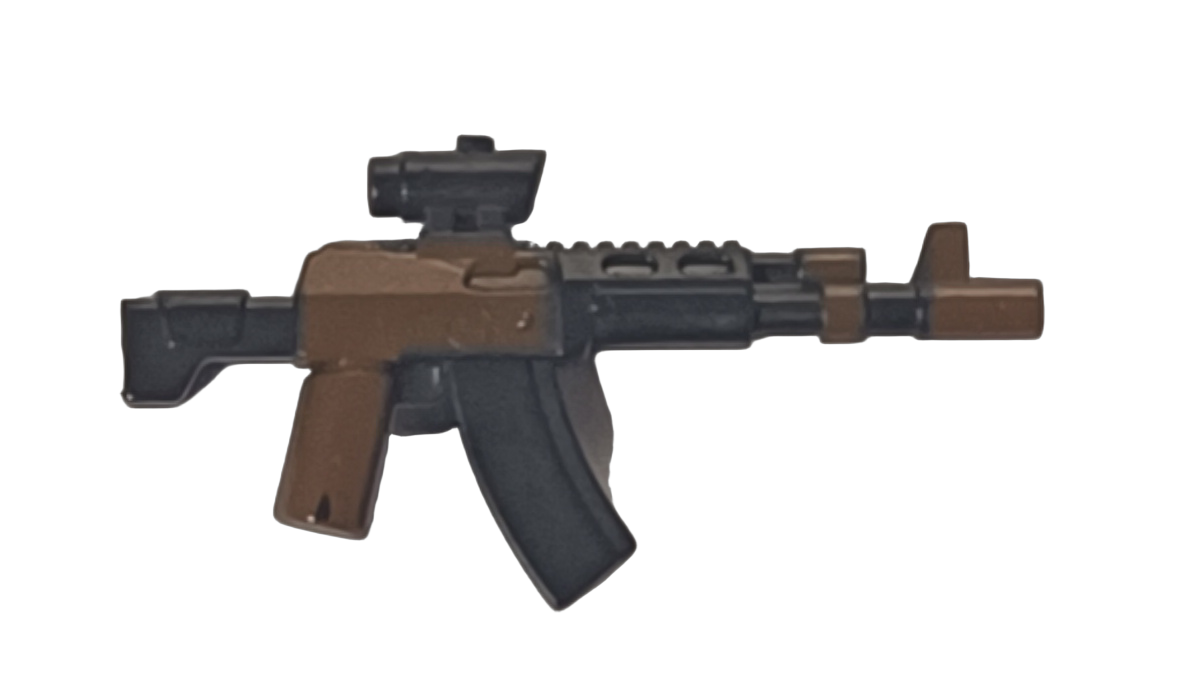
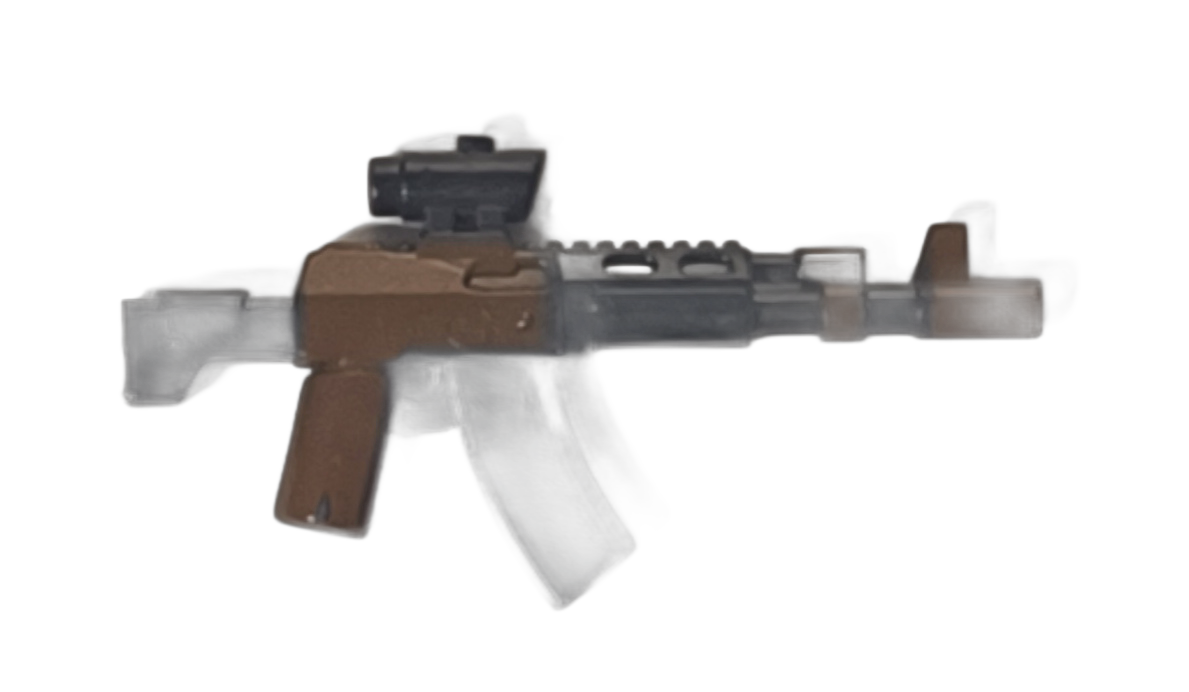
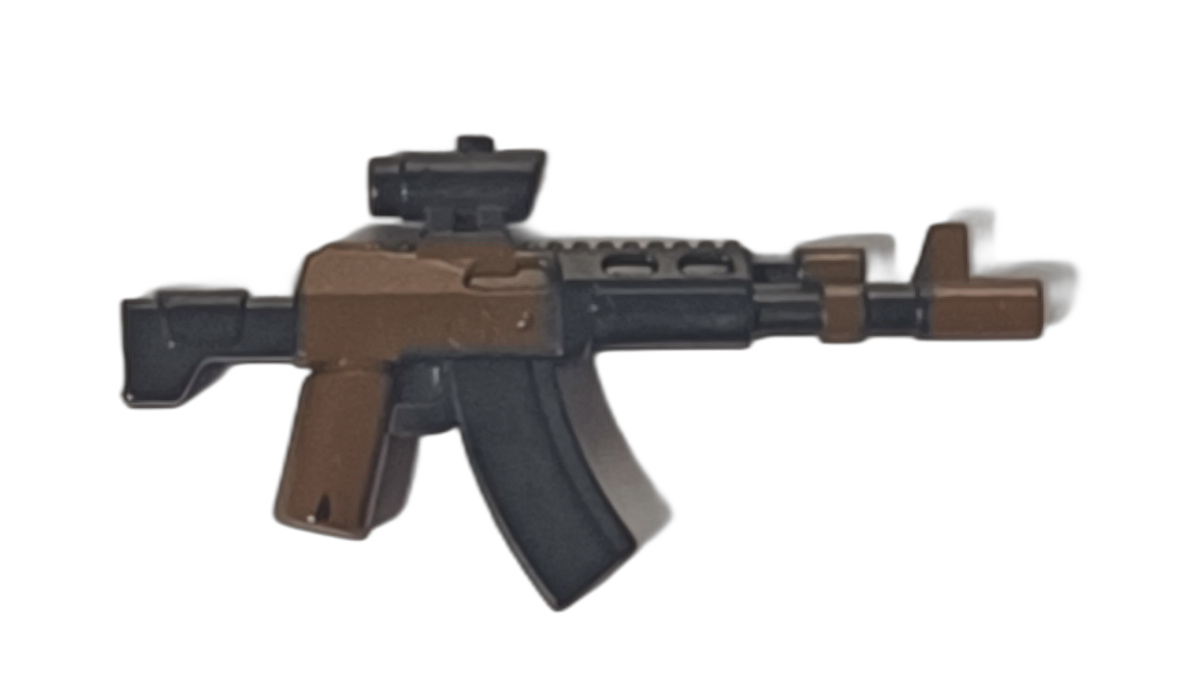
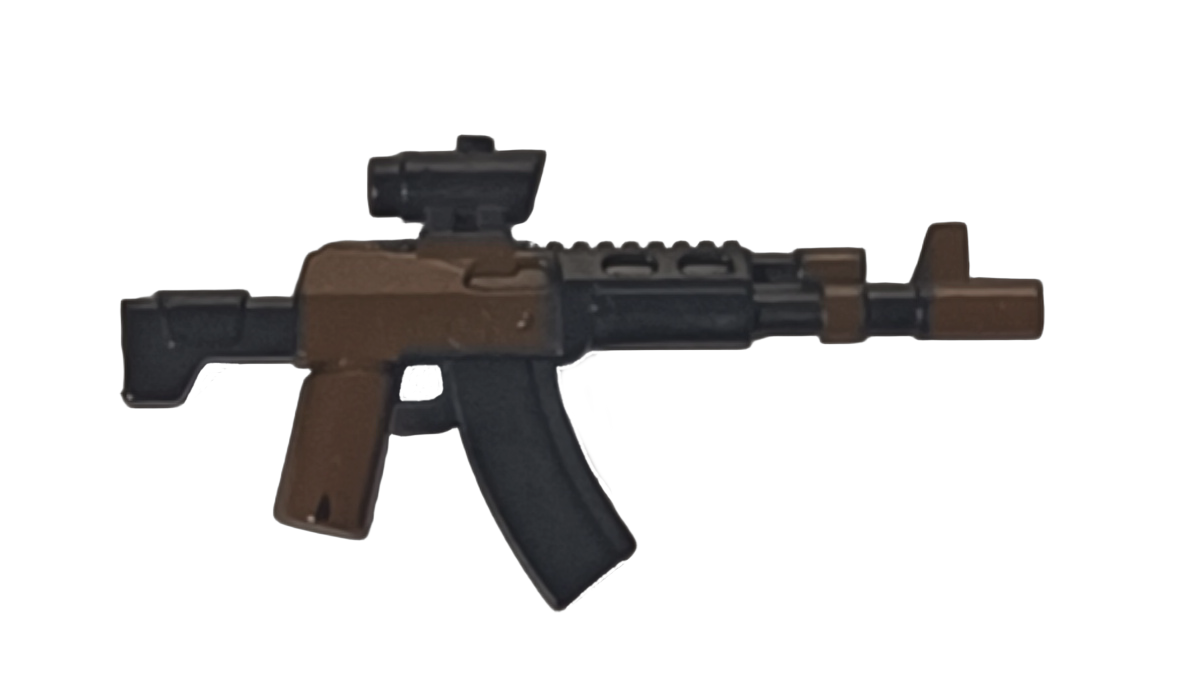
When manually post-processing the images in Gimp, I proceed as follows:
- I remove any remaining shadows with the “Eraser” tool
- I close gaps, i.e. transparencies that should not be transparent, with the “Smudge” tool
Crop and scale the content
In the next step, I crop the image to the target size. To do this, I proceed as follows:
- First, I correct the alignment of the image by “free rotating” the content.
- Now I manually select the area to be displayed and crop the image to this manual selection.
- Article images in the store have the format 300px * 110 px:
- First I scale the proportionally larger dimension to the target size
- Then I expand the smaller dimension of the canvas to the target size and center the content.
Create rotated version
Once I did this for all images I create the rotated versions of the article images. The rotated versions are not used in the store but in the player sidebars of the game screen.
I do this with a batch operation using Image Magick:
#!/bin/bash

for file in in/*.png; do convert -rotate -90 "$file" "out/$file"; done
Correct colors
In the final step, I correct non-ideal lighting conditions by adjusting the exposure in Gimp, trying out the appropriate settings on one shot and then applying the same values to all the images in the series.